

Step-by-step instructions for loading presets into the iPad Lightroom

We are glad to see you in our step-by-step instructions. Below in this guide, we've covered (including screenshots) the entire installation and use of presets so that you can quickly and easily install presets in the Lightroom on your iPad.
First of all, after payment, you receive an email with a download button. Click on it. You will find the presets in your Files in the Downloads folder.

Then open Lightroom and click on plus sign and choose “FROM FILES”

Open your download folder and click on preset.

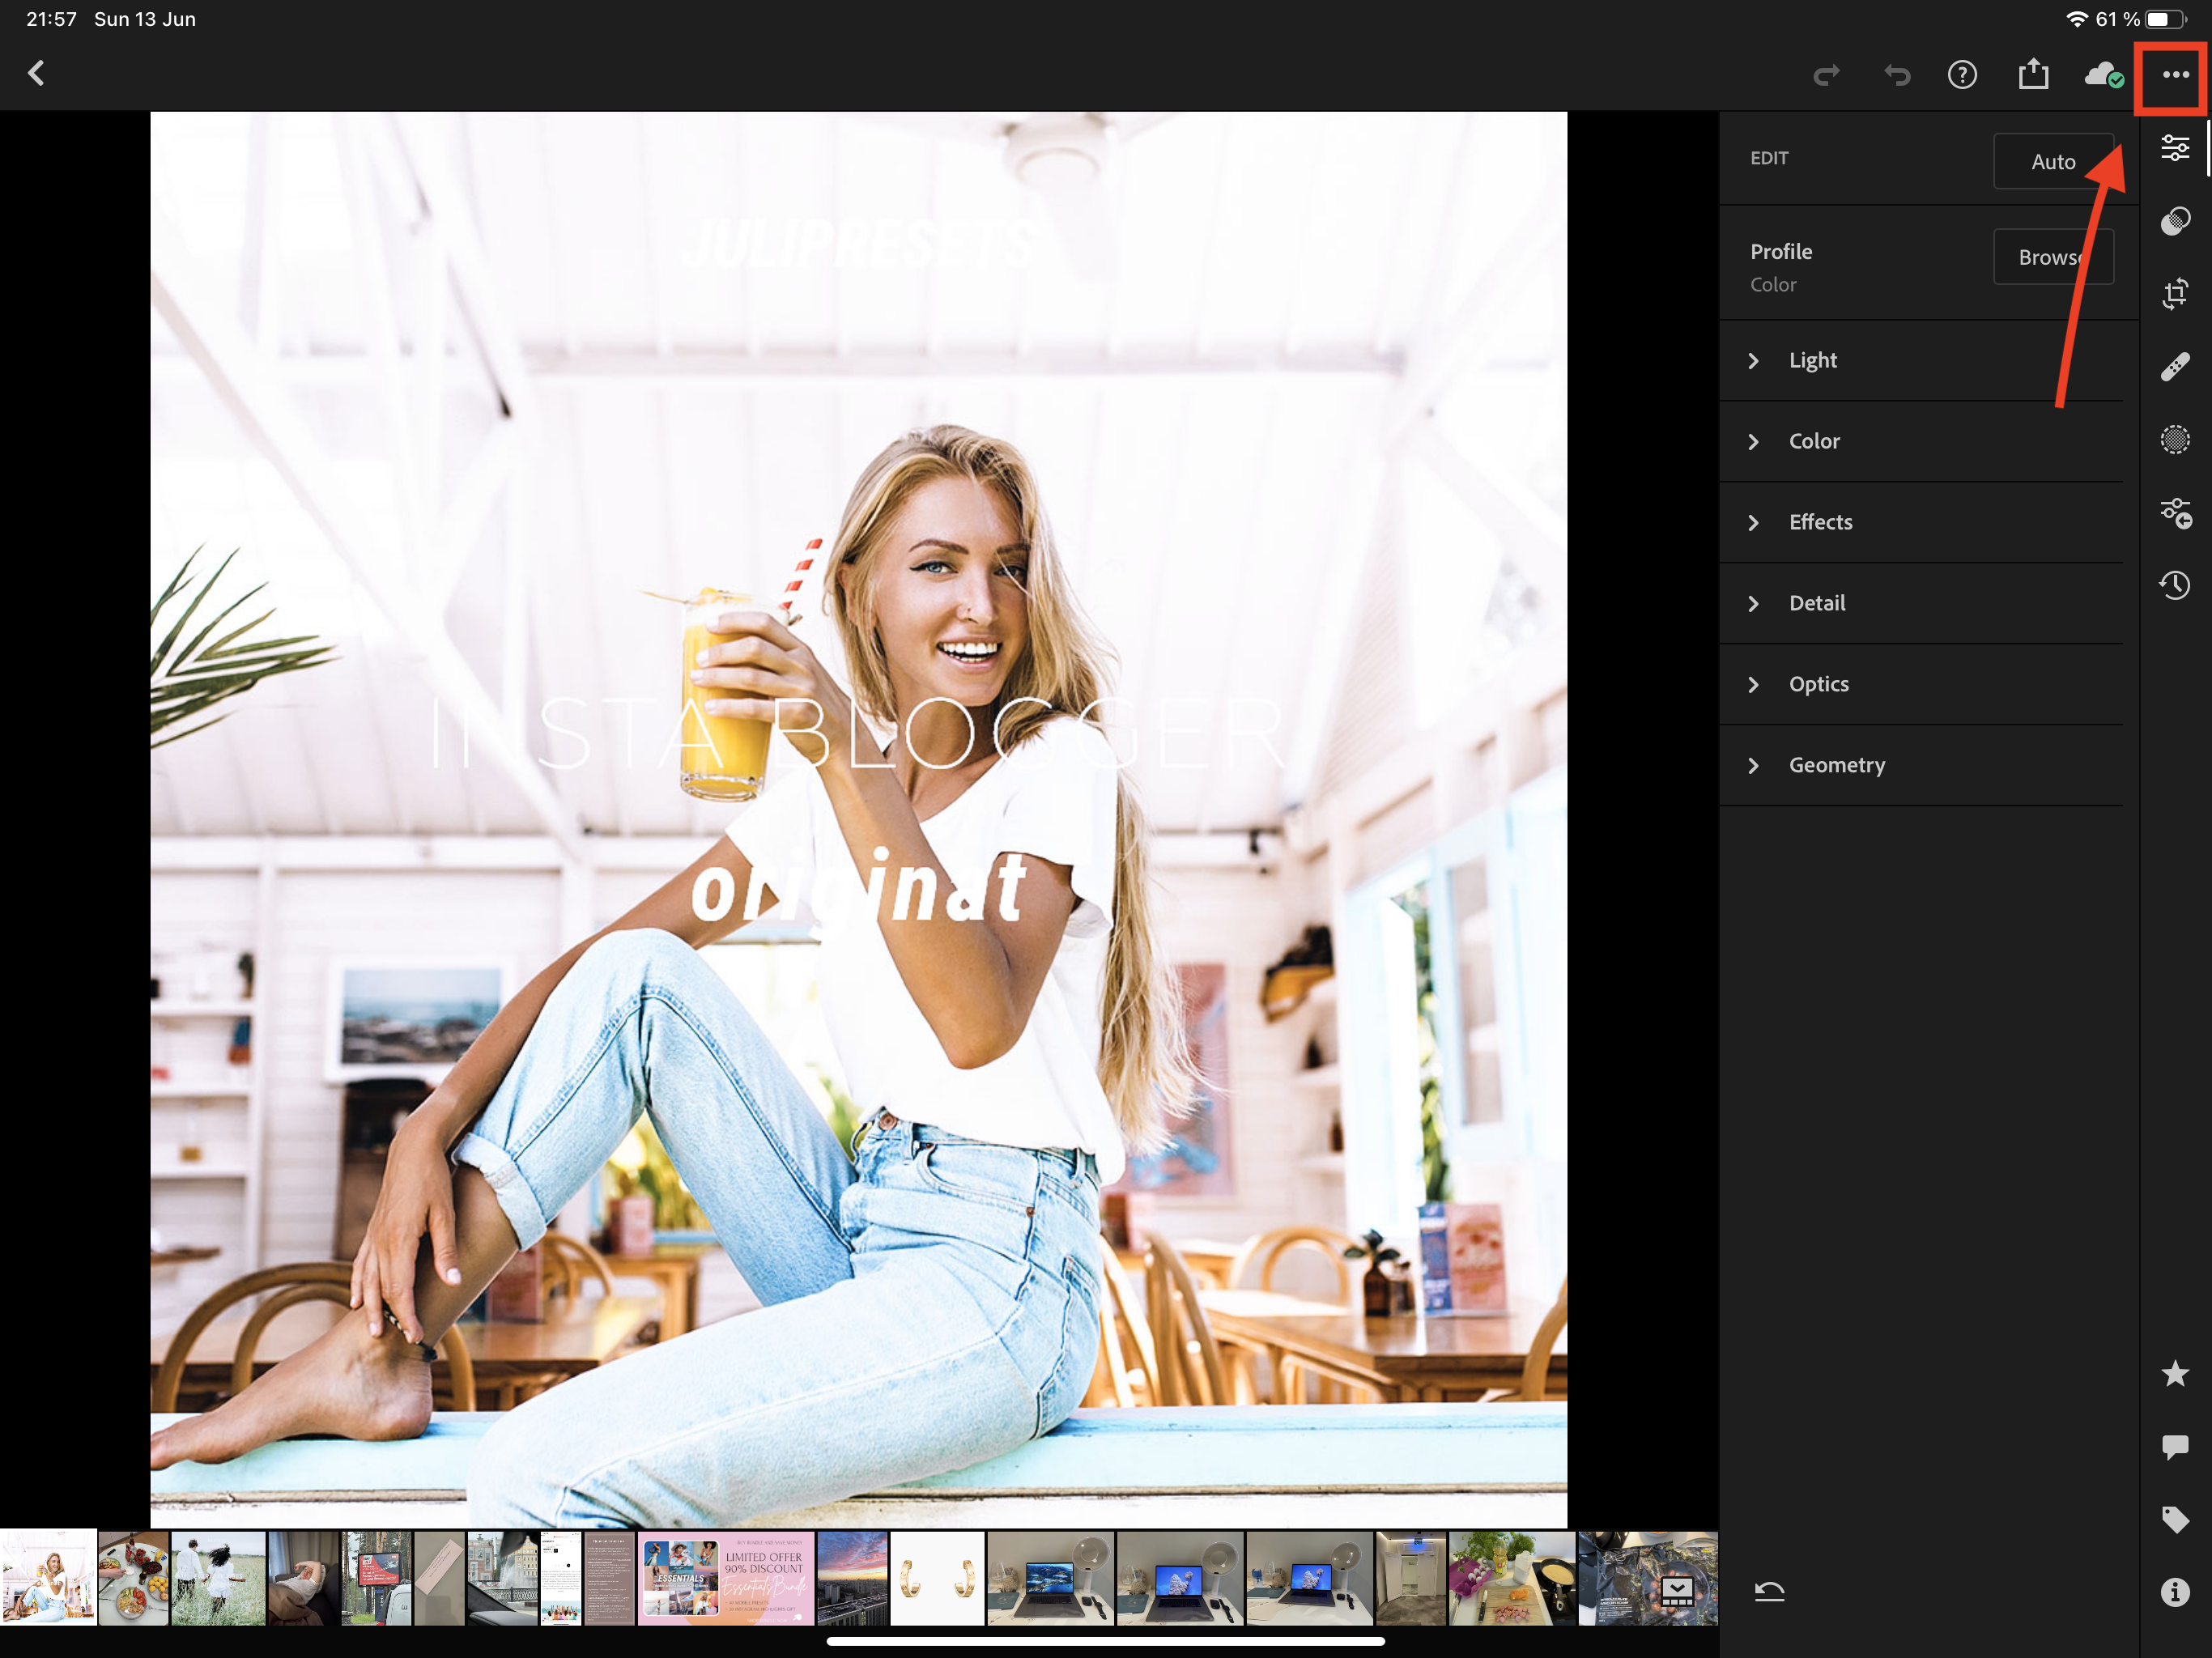
When the preset open click on three dots on the right corner.
Choose “CREATE PRESET”.

Enter a Preset Name and create a new preset group for convenience. After this click on the checkmark in the upper right corner to save.

All done. Now you just need to open your photo and apply a preset.
You should do these steps with each preset file.
A preset is not only a one-click presets for your photo, it's also a good base for editing. After applying a preset, you can make additional settings to adjust the preset settings for better editing results.


8rxtza
ini5bb
h7btl0
avqtch
e3692w
Leave a comment